
Having Issue With Urgent-alerts.com Popup?
Urgent-alerts.com (Virus Alert - Warning) is a nettlesome adware which can take control of users’ browsers by displaying irritating pop-ups constantly. Once installed, this scareware does precisely what a redirect virus out there does. Keep receiving such alert popup is likely the symptom that you computer has been invaded by something with malicious properties.
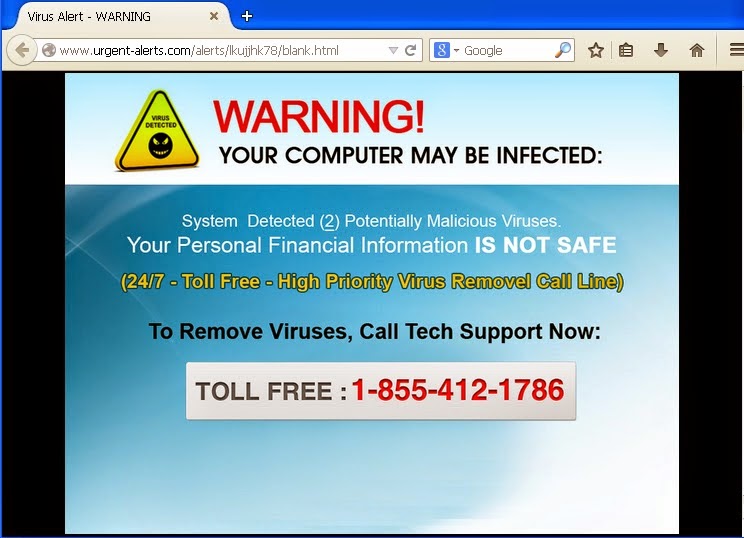
You are told that Please do not be taken in. This phishing thing aims at leading you call certain number via which it can help cyber hacker take the chance to get revenue from the popup and compromise your sensitive information.
1. It is a tricky invader tends to scare and trap you.
2. It is a trouble maker that redirects your webpage constantly.
3. It is a collector that may monitor your browsing and collect sensitive data.
4. It is a retarder that lowers your computer speed pretty badly.
Useful Tips:
!) Since Ad-supported program Urgent-alerts.com can sneak into your system easily, you are advised to pay much attention while enjoying surfing online. Especially you should choose custom installation while downloading something new from the internet.
2) To enhance your browsing experience, as well as to avoid potential risks that may be aroused by Urgent-alerts.com adware, you are advised to erase the annoying popup without any delay.
How to Drive Urgent-alerts.com Away From Your Computer?
Method 1. remove Virus Alert - Warning popup manually
Step A: Reset system DNS
1) Open Control Panel (Start->> Control Panel)
2) Double-click “Network Connections” icon to open it.
3) Right click on “Local Area Connection” icon and select “Properties”.
4) Select “Internet Protocol (TCP/IP)” and click “Properties” button.
5) Choose “Obtain DNS server address automatically” and click OK.
Step B: Reset your browser (e.g. IE)
1) Go to Tools ->> ‘Manage Add-ons’;
2) Choose ‘Search Providers’ ->> choose ‘Bing’ search engine or ‘Google’ search engine and make it default;
3) Select ‘search result and click ‘Remove’ to remove it;
4) Go to ‘Tools’ ->> ‘Internet Options’; select ‘General tab’ and click website, e.g. Google.com. Click OK to save changes.
Step C. Show hidden files
1) Open Control Panel from Start menu and search for Folder Options;
2) Under View tab to tick Show hidden files and folders and non-tick Hide protected operating system files (Recommended) and then click OK;
Step D. Delete associated registry values.
HKEY_CURRENT_USER\Software\Microsoft\Windows\CurrentVersion\Run""= "%AppData%\.exe"
HKEY_LOCAL_MACHINE\Software\Microsoft\Windows\CurrentVersion\Run""="%AppData%\.exe"
HKEY_CURRENT_USER\Software\Microsoft\Windows\CurrentVersion\Associations "LowRiskFileTypes"="random"
Step E. Delete associated files
%UserProfile%\Programs\AppData\[Random Charateristc].exe
%UserProfile%\Programs\Temp\[Random Charateristc].dll
%UserProfile%\Programs\AppData\roaming\[Random Charateristc].dll
If you are not familiar with entries stuff, you are kindly reminded to use the best Urgent-alerts.com free scanner to finish the removal automatically.
Method 2: remove Virus Alert - Warning popup automatically with SpyHunter
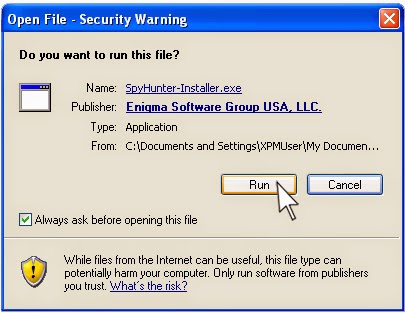
Step A. Download adware removal tool SpyHunter

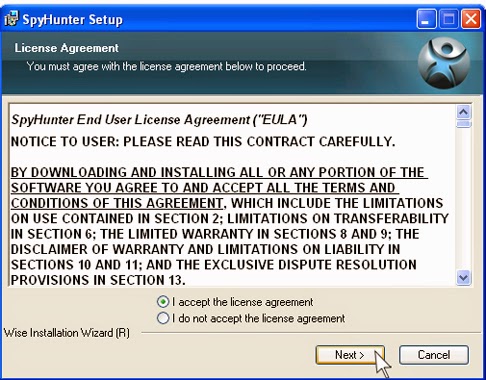
Step B. Follow the tips to to get SpyHunter installed completely after downloading
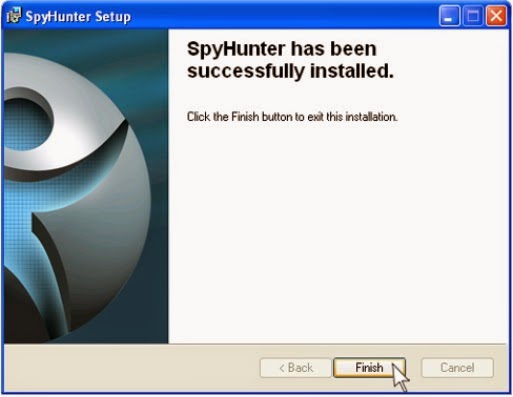
Step C: Run SpyHunter and start a full scan on your computer
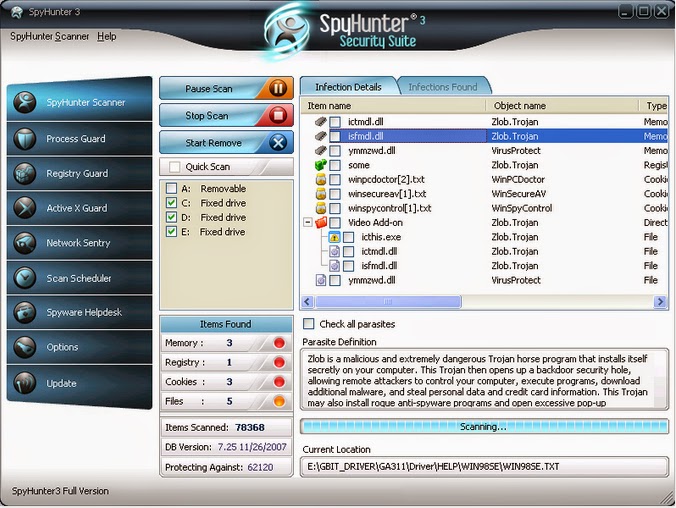
Step D: Show the scan result and then delete all detected item
Good to Know: Manual removal is an efficient way to get rid of Urgent-alerts.com redirect. But if you are not familiar with manual operation, please feel free to carry out an automatic Urgent-alerts.com Virus Alert - Warning removal process with SpyHunter from here right now!