
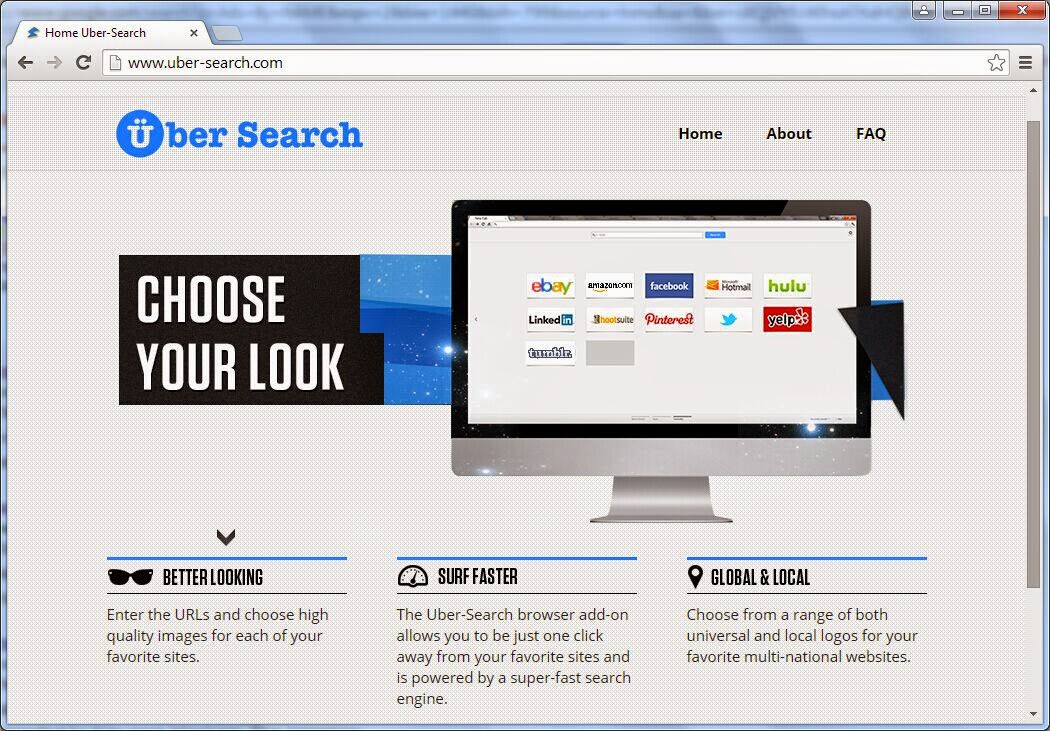
Uber-search.com description
Uber-search.com is actually supported by a browser hijacker. It's a misleading website which is associated with Uber-Search Toolbar. It can bring lots of problems to your browser as well as your machine after the infection. It has the ability sneak into one's system without any knowledge and permission. Mainly, it comes bundled with the free programs or files that you downloaded online. On its page, it lists the advantages of having the tool. It claims to help you search better. So some users may be fooled by its words and lead it to their PCs themselves. However, this page can keep redirecting users to certain websites and can bring users lots of unwanted ads. You should not take it slightly.
Want a quicker way to solve it? >>Click for the recommended security tool.
Screenshot of Uber-search.com
Harmful properties of Uber-search.com
- It changes your default homepage and search engine secretly.
- It can bring lots of unwanted ads to annoy you.
- Its ads may redirect you to some dubious websites which may cause viruses or malware infection.
- Browsers like Google Chrome, Mozilla Firefox and Internet Explorer are all affected.
- Uber-search.com takes up your system resources to make your machine move as slowly as a snail.
- After the removal, the hijacker can come back again.
- It collects your confidential information with the intention to make potential profits.
Uber-search.com step by step removal instructions
Method 1: Manually remove it by following the guides below.
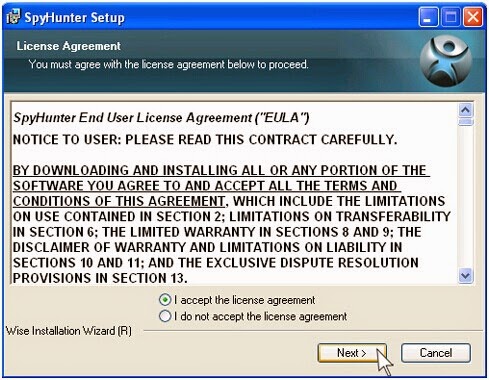
Method 2: Automatically remove it by using SpyHunter.
Manual Steps
Step 1: Reset your browser by the ways below (take Google Chrome for example).
Double click Google Chrome to get to the icon on the top right side and find settings.
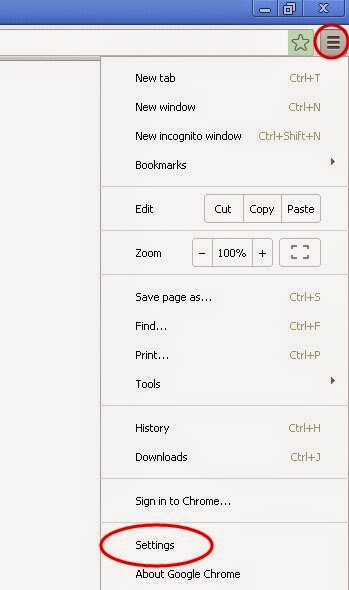
Double click Google Chrome to get to the icon on the top right side and find settings.
In the popped up interface, you need to do four steps.
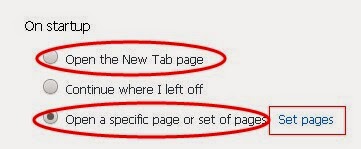
1. In the On Startup section, you can choose "Open the New Tab page" or "Open a specific page or set of pages". The latter needs you to set pages you like.
2. In the Search section you need to reset Google as your default search engine by hitting the X button after the link with the name of other search engines.
3. In the Default browser section, input www.google.com or other pages you like to the new page box and hit OK to finish this step.
4. Click "Clear browsing data" in the Privacy section and then you can reboot your computer and check the browser!
Step 2: Uninstall programs brought by Uber-search.com.
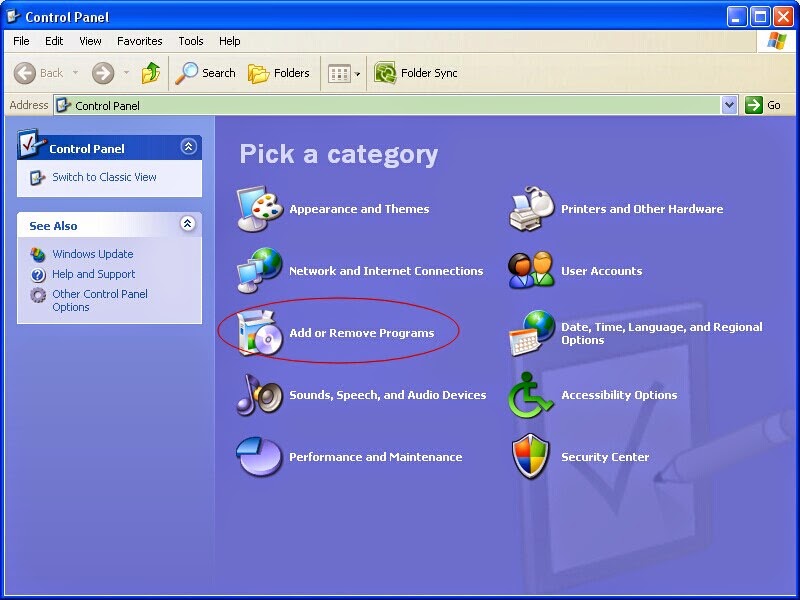
For Windows XP: Click start and find Control Panel. In the pop-up box, you will see Add or Remove Programs. Click it and find any related programs and then delete them.
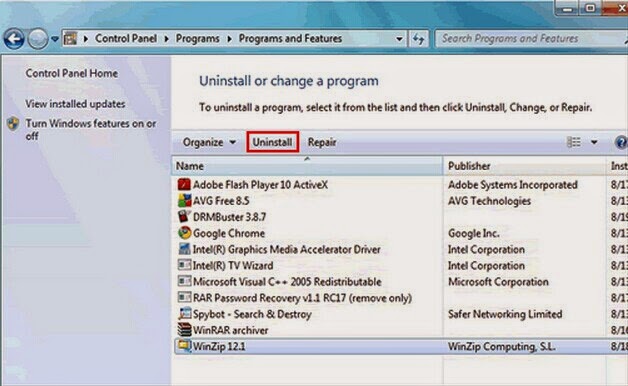
For Windows 7: You also need to find Control Panel by clicking Start Menu. Focus on Uninstall and look for what you want to uninstall. Select the ones you find and uninstall them.
For Windows 8:
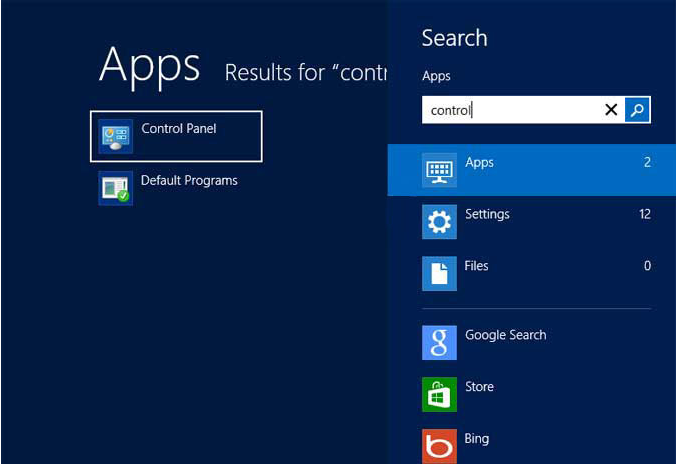
Click Start Menu first and then click Search. Select Apps and then click Control Panel. Then the Uninstall box will come to you. You just need to find related programs and uninstall them.

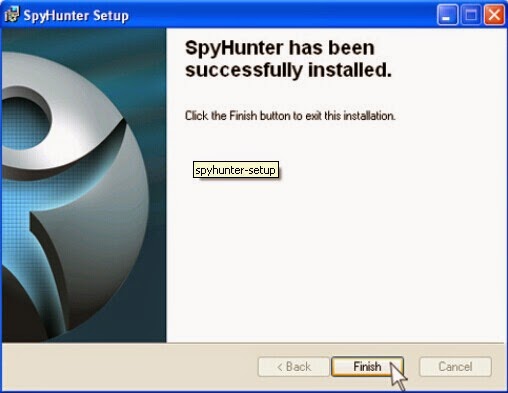
Follow the installation guides to install it properly.
Step 2: Click "Malware Scan" to scan for Uber-search.com.
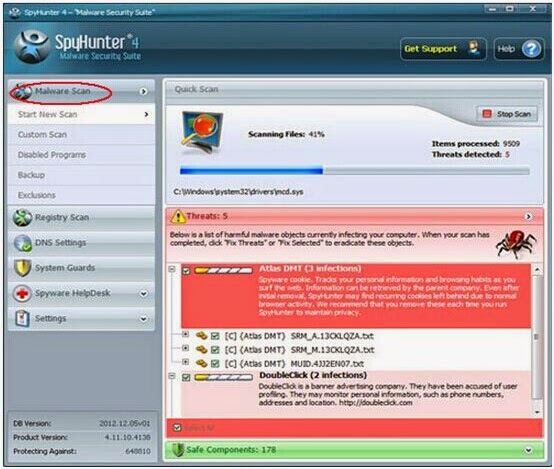
Step 3: Select all the threats and click Remove to fix them.
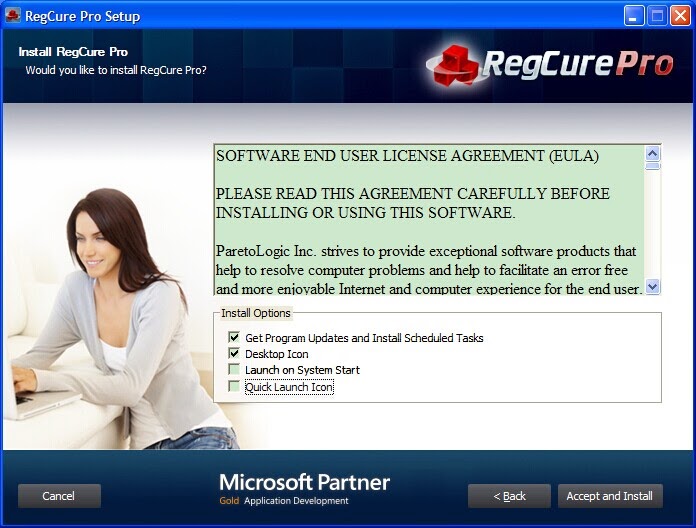
Developed by ParetoLogic Inc, RegCure is really good at dealing with the left files. It can help to check and optimize your PC at the same time.
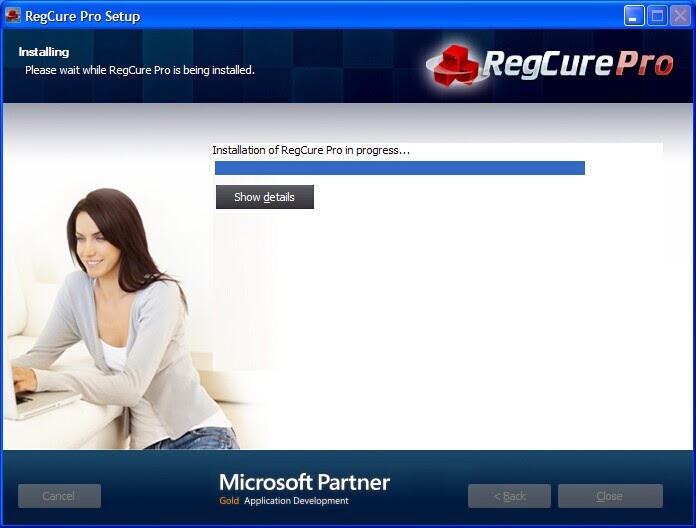
Step 1: Download RegCure Pro!

Step 2: Follow the installation guides to install RegCure Pro step by step.

On removing Uber-search.com, computer experts can try the manual steps. Novices are recommended to use SpyHunter. Don't remove it manually when you even can't tell from your system files.
For related information, please click here:
For Windows XP: Click start and find Control Panel. In the pop-up box, you will see Add or Remove Programs. Click it and find any related programs and then delete them.
For Windows 7: You also need to find Control Panel by clicking Start Menu. Focus on Uninstall and look for what you want to uninstall. Select the ones you find and uninstall them.
For Windows 8:
Click Start Menu first and then click Search. Select Apps and then click Control Panel. Then the Uninstall box will come to you. You just need to find related programs and uninstall them.
Automatic Steps
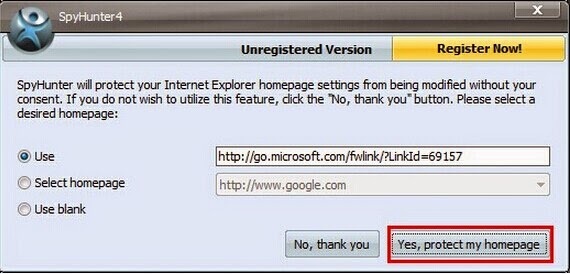
During the process, select "Yes, protect my homepage".
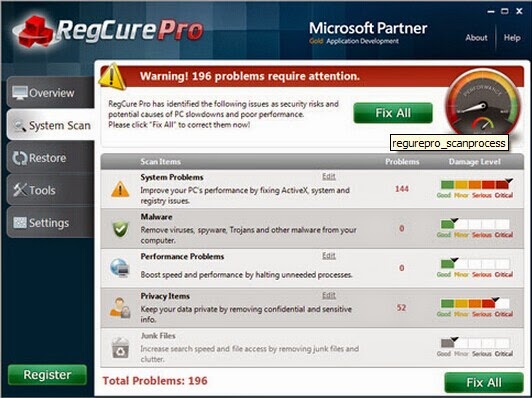
Options for you to check and optimize your PC
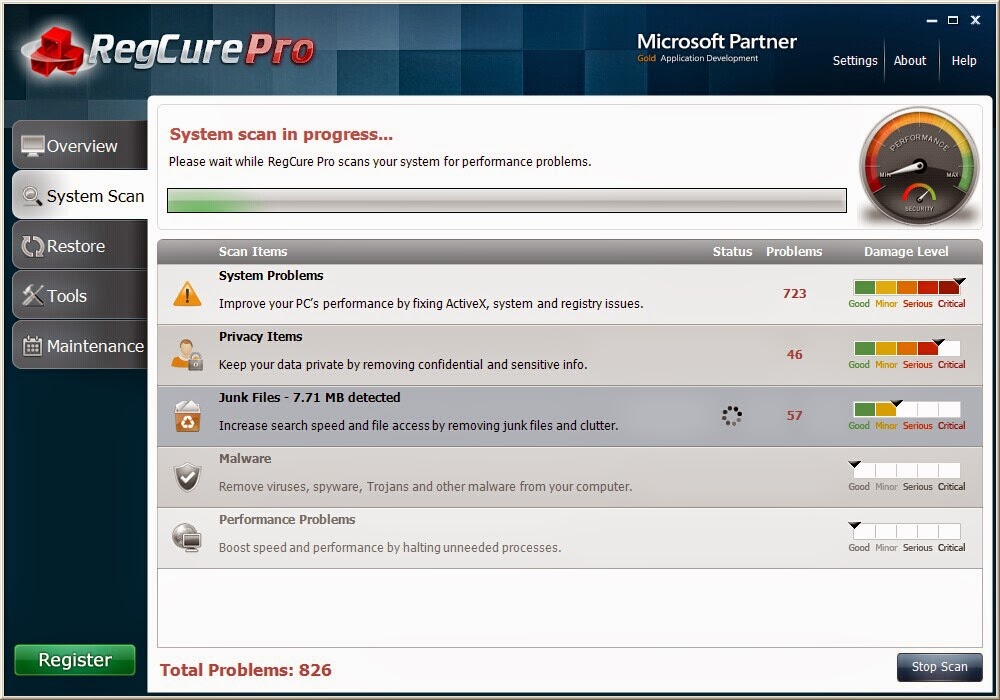
Step 3: Launch RegCure and make a full scan.
Step 4: If you do find anything, click "Fix All" to get rid of all the problems.
Good to know:
For related information, please click here: