
Are you encountering the same problem and in need of removal assistance, too? How about taking a few minutes to follow this article? You will find the solution quickly.
Overwhelmed by BuyandSave Issue?
Ads by BuyandSave (Buy and Save/BuyNSave) can perform evil actions on users' computers once given the chance to penetrate their systems. This piece of adware will badly interrupt your browsing and trigger other inconveniences to pester you.
• It inserts itself to your browser and manifests on your webpage with picture/hyperlinks.
• You will be slammed with pop-up by pop-up when you try to navigate somewhere else.
• Due to tons of Ads on your window, you can barely view to page you attempt to visit.
• Multifarious misleading message can almost get you pestered.
• BuyandSave may come along with other superfluous application.
This ad-generating bug may bring in other unwanted programs to degrade your system performance further. Speedy pop-up Ads removal is important to both your browsing experience and system security. You could try to carry out the following removal procedures.
How to Get Rid of Ads by BuyandSave Manually?
Step 1. Disable any suspicious startup items
Click Start menu -> click Run -> type: msconfig in the search bar -> open System Configuration Utility -> Disable all possible startup items including those of this unwanted program.

Step 2. Remove unwanted program
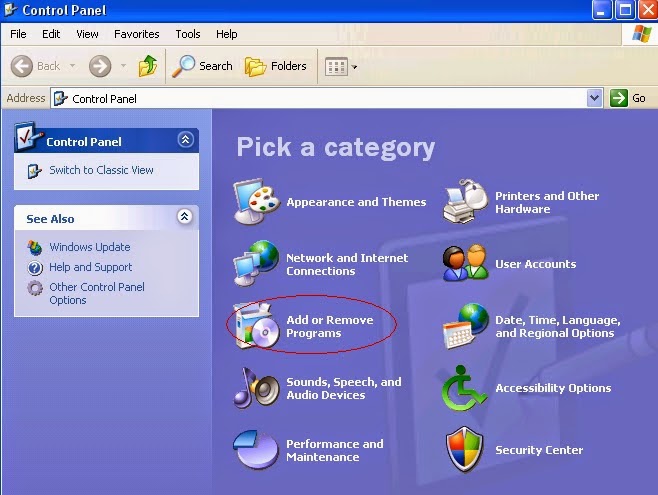
Start>>Control Panel>>Add / Remove Programs>>Ads by BuyandSave;>>Remove
Step 3. Disable Add-on (e.g.IE)
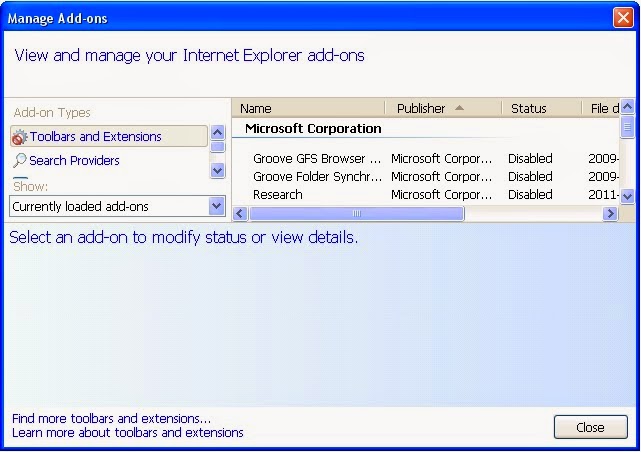
Settings>>Manage Add-ons>>Toolbar and Extensions>>BuyandSave>>Disable
Step 4. Show hidden files and remove relevant files
1) open Control Panel from Start menu and search for Folder Options;
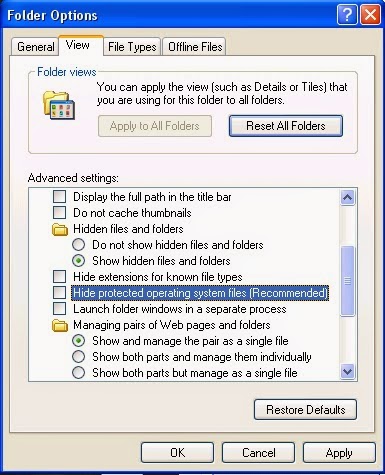
2) under View tab to tick Show hidden files and folders and non-tick Hide protected operating system files (Recommended) and then click OK;
3) click on the “Start” menu and then click on the “Search programs and files” box, Search for and delete these files created by this Add-on:
C:\Documents and Settings\user account\Local Settings\Application Data\BuyandSave
C:\users\user\appdata\roaming\zfqigngq.exe
C:\Documents and Settings\user account\Local Settings\Temp\random
Step 5. Delete relevant registry values
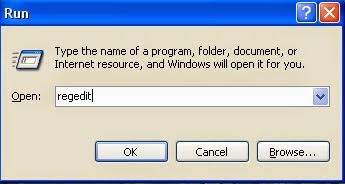
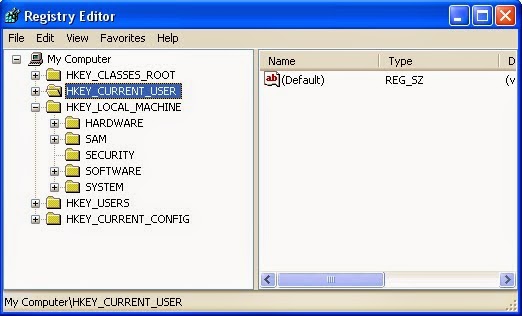
HKEY_CURRENT_USER\Software\
HKEY_CURRENT_USER\Software\AppDataLow\Software
HKEY_Local_Machine\Software\Microsoft\plusStotal Services
(Sufficient expertise is needed during the malware manual removal process. If you are not confident to implement the above manual removal procedure, you are suggested to use the best adware remover to help you out quickly and safely.)
How to Drive Ads by BuyandSave Away Automatically with SpyHunter?
Step 1. Click the icon to download BuyandSave removal tool SpyHunter

Step 2. Follow the instructions to install SpyHunter


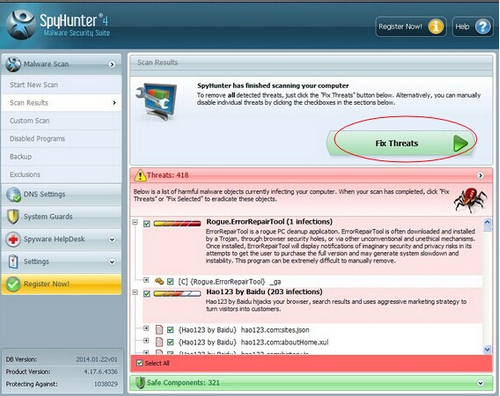
Step 3. Run SpyHunter and start a full scan to detect any suspicious/malicious things automatically.

Step 4. Show the scan result and delete all detected items by clicking the built-in "Fix Threats"
TIPS:
1) BuyandSave Ads removal should be finished speedily to avoid unnecessary troubles. If you are not confident to finish the manual process by yourself, please feel free to start an automatic removal with SpyHunter.
2) The unwanted always slip into systems via a third party, so you need to be highly attentive while enjoying you time online.
Cleaning up Your Computer After Ads Removal - Get a Faster Speed
If you do not know much about system tune-up, you could have an optimization tool for help. We recommend RegCure Pro which features:
* Find out and repair system errors
*
Kick off active viruses, spyware and other malware
*
Erase privacy files and secure confidential info
*
Optimize memory by defragmenting
* Manage programs launches at startup
* Manage programs launches at startup
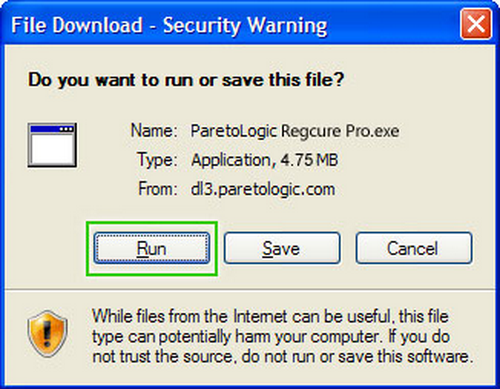
Step 1. Download the best computer helper RegCure Pro automatically

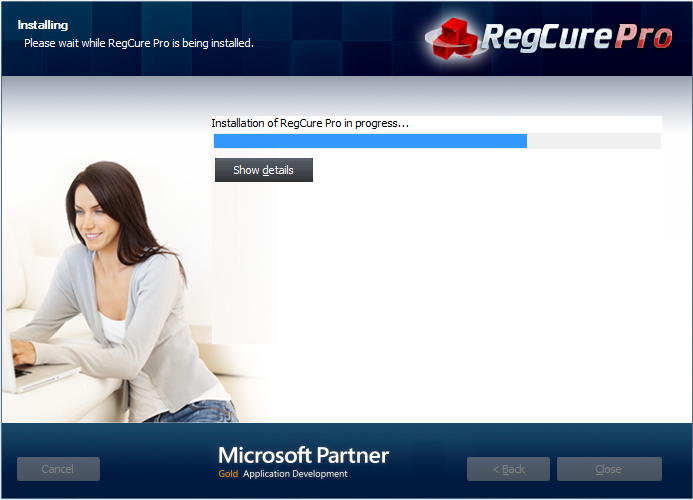
Step 2. Follow the instructions to install RegCure Pro
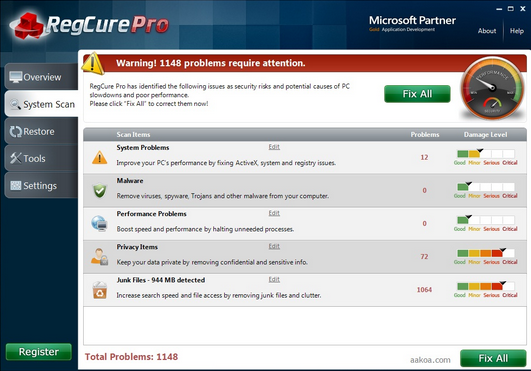
Step 3. Run RegCure Pro and start a system scan on your computer
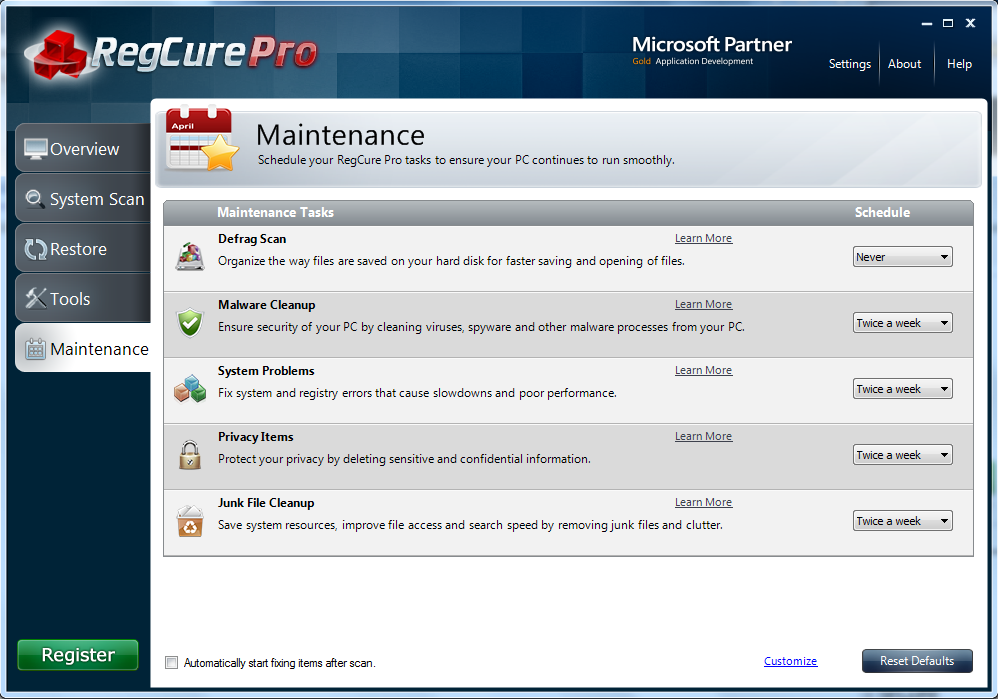
Step 4. Click the in-built “Fix All" button to start the optimization automatically
Good to know :
If you have any matters such as windows error, malware removal, performance issues, and junk files & registry, you could download RegCure Pro for help. This excellent cleaner won't disappoint you!